
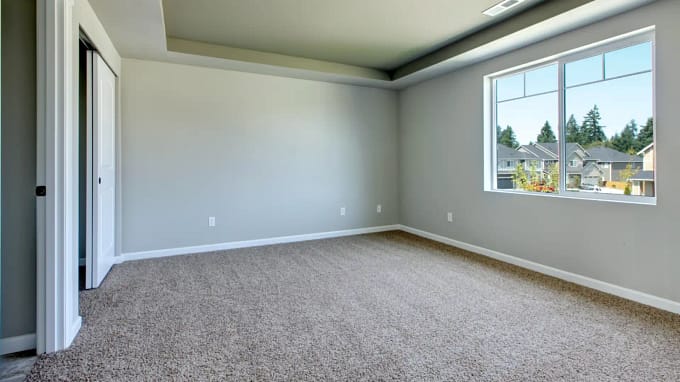
Accurate measurements are the foundation of any successful flooring project. Without them, you run the risk of ordering too much material and wasting money, or worse, ordering too little and facing costly delays.
Whether you are fitting carpet, vinyl, laminate, or tiles, precision is key to achieving a professional-looking finish.
This room-by-room guide will walk you through the steps to measure different spaces in your home, from simple rectangular rooms to awkward L-shapes and staircases.
By following these tips, you will have the confidence to order exactly what you need, with a little extra to account for cutting and fitting.
Preparing to Measure
Before you begin, gather all the tools you will need for the job. A sturdy tape measure of at least 5 metres, a notebook, a sharp pencil or pen, and a calculator are essential.
If you want even greater accuracy, a laser measure can be a useful investment, particularly for larger or more complex spaces. Having your tools ready will make the process much smoother.
To achieve the most accurate measurements, always work methodically. Measure each dimension twice to double-check your figures and note them clearly in both metres and centimetres.
When working in irregular rooms, measure from the longest and widest points, as this will help you avoid any surprises when the flooring is cut and installed.
Basic Measuring Method
For most rooms, the process starts with finding the length and width at their widest points. Multiply these two numbers together to find the total area in square metres.
For example, a room measuring 4.2m by 3.5m has an area of 14.7m². It’s important to measure from skirting board to skirting board rather than wall to wall if furniture or features could obstruct your line.
Once you have the total area, add an allowance of 5–10% to account for wastage during fitting. This is particularly important for flooring that requires cutting around corners or fitting into awkward spaces.
If your flooring has a distinct pattern, such as patterned carpet or tiles, you may need to increase the allowance to ensure pattern alignment.
Measuring by Room Shape
Square or Rectangular Rooms
Square or rectangular rooms are the simplest to measure. Take two measurements for the length and width, choose the largest figures, and multiply them together.
Even in straightforward spaces, remember to check for small recesses, chimney breasts, or alcoves and include them in your calculations.
It can be tempting to skip these smaller features, but failing to measure them can result in not having enough material to cover the entire area.
Always record your measurements clearly, labelling each room to avoid confusion when ordering multiple types of flooring.
L-Shaped Rooms
For L-shaped rooms, divide the space into two rectangles and measure each one separately.
Multiply the length and width for each section, then add the two totals together. This approach ensures you account for every part of the floor without overcomplicating your calculations.
Having a simple floor plan sketched on paper can help you keep track of your measurements.
Marking each section means you can see at a glance which measurements belong where, reducing the risk of mix-ups later.
Irregular Rooms with Angles or Curves
When faced with irregular rooms, the best method is to break the area into smaller, measurable shapes such as rectangles and triangles.
Measure each section individually, calculate the area, and then add all the areas together for the final total.
Curved walls can be tricky, so the safest method is to measure the widest points and use that figure for your calculations.
This ensures you will have enough flooring to cover the space without leaving gaps along the edges.
Open-Plan Spaces
Open-plan spaces often combine two or more distinct areas, such as a kitchen and dining room.
Measure each section separately, even if they are connected, as this will give you a more accurate breakdown.
This method is also useful if you plan to use different flooring types in different sections of the space.
You can calculate the amount needed for each flooring style without confusion or over-ordering.

Special Considerations by Flooring Type
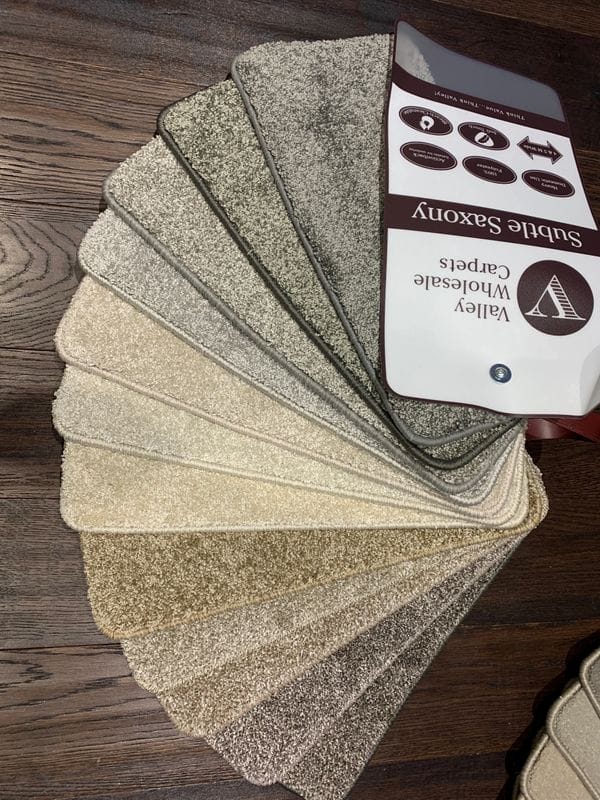
Different flooring materials require slightly different measuring techniques. For carpet, always allow extra material to match patterns or to stretch the carpet into position.
Vinyl, on the other hand, is typically sold in rolls of fixed widths, so your measurements must account for the roll size to minimise seams.
Laminate and engineered wood flooring are sold in packs, with each pack covering a specific area. Once you have calculated your total area, check the coverage per pack and round up to ensure you have enough.
For tiles, measure in square metres, then work out the number of tiles per square metre before calculating the total number of boxes required.
Measuring for Stairs
Measuring stairs requires a bit more attention to detail. Start by measuring the width and depth of one tread (the part you step on) and the height of one riser (the vertical part).
Multiply this by the number of steps to get the total area needed for the stairs alone.
If your staircase has landings or winders (steps that turn), measure these areas separately and add them to your total.
Always allow extra material for stairs, as shaping and fitting around edges can result in more wastage than flat floor areas.
Common Mistakes to Avoid
One of the most common errors is forgetting to measure alcoves, recesses, or built-in storage areas. Even small missed sections can cause problems during fitting, leading to delays and unexpected costs.
Another frequent mistake is rounding measurements down to save on material costs.
This can backfire quickly, as flooring shortages can mean having to order more from a different batch, which may have slight colour or texture variations. Always round up for safety.
Conclusion
Measuring for flooring may seem like a small step in the process, but it’s one of the most important.
Taking the time to measure carefully will save you money, reduce waste, and ensure a smooth installation process.
If you are unsure about any of your measurements, it’s worth asking a professional to double-check them before you place your order.
And when you are ready to start your flooring project, our team is here to help you choose the perfect materials and ensure a flawless fit from start to finish.


